Saturday, January 28, 2012

Guinness Stout Chocolate Cake... and then some

For the first weekend in a long while, I have time to bake.  Oh, how I've missed my baking marathon moments!! 

We're having a nice, slow Saturday.  We went out for lunch earlier in the day, and Tommy's spent much of his afternoon laying on the couch with fat-cat Pepper laying across his legs.  Tommy was drifting in and out of sleep while watching the Do-It-Yourself Network.  It's always a little worrisome when he watches home improvement shows because he gets all crazy with ideas. 

So a while back, I bought a big ol' single bottle of Guinness in hopes of trying to make a cake similar to one like what a friend brought to a pot luck recently.  It was a delicious cake, all chocolaty with just a little something that made you tilt your head and wonder, "Mmmm.... what is that?"  Well, beer's not just for drinking, people!  It's for baking, too!

So I started with digging around for a recipe that sounded good.  I ended up at a site that has all sorts of amazing Guinness beer recipes, Karrott.com, and I selected the Chocolate Guinness Cake recipe. 

Now, I have to preface all of this with a very simple statement:  I am not a very talented cake decorator.  Just so that your expectations aren't set too high. 

Here's the final picture of this interesting cake.  It's not super ugly, I mean, it is chocolate after all.


Here's the recipe:

Guinness Chocolate Cake
Shortening and cocoa powder for dusting the pans
1 cup butter
1 cup Guinness
2/3 cup dark cocoa powder
1 teaspoon salt
2 cups flour
2 cups sugar
1 1/4 teaspoon baking soda
2 large eggs
1/2 cup sour cream

Start by heating the oven to 350° F.  Lightly dust two greased 8 inch pans with cocoa powder; set aside.

In a medium saucepan over medium heat combine butter, Guinness, and cocoa powder until butter melts. Pour into bowl and let cool. Make a note to yourself that just because this looks absolutely divine, there is no sugar in this mixture and the temptation to lick your fingers, the spatula or anything else should be avoided! 
 I know, I know.  It's hard to believe that if you taste it, you're sure to be disappointed.  I just looks so delectably blissful.  Don't fall for it. 

Next, sift together the salt, flour, sugar and soda. Add the cooled Guinness/chocolate mixture to the dry ingredients and beat until just combined. Add the eggs and sour cream and beat until mixed. Dividing evenly, pour batter into prepared pans and bake for 25 to 30 minutes or until a toothpick inserted into the middle comes out clean.

Let cool on racks.

Once the cakes are cooled, it's time to make the frostings.  I used two types on this one.  The Guinness Chocolate Frosting comes from the same website as the cake recipe, just for reference.  I changed it up a little because I think that the semi-sweet chocolate has to be tempered a little bit with milk chocolate.  The Bailey's Frosting comes from a recipe I had already in my arsenal, but I just substituted milk with the Bailey's liqueur. 

Guinness Chocolate Frosting
1 1/2 cups semi-sweet chocolate chips
1 cup milk chocolate chips
3 Tbsp butter
5 Tbsp Guinness
5 Tbsp milk

**Note before you start: My frosting seemed to set up very fast, making it difficult to spread after just a few minutes, so you might want to be prepared and work quickly.  To help make spreading easier, I ran my frosting spatula under hot water occasionally.** 
Put chocolate chips and butter in microwave-safe bowl.  Heat for 1 minute; stir.  Heat for 30 seconds, stir.  Repeat until most chips are melted and you can stir them into a smooth sauce.  Put into mixing bowl.  Add Guinness and milk, beating on medium-high speed.  Spread in between the two layers of the cake and then frost top and sides of cake. 

Baileys Buttercream Frosting
1/2 cup butter, softened
4 oz cream cheese, softened
1/4 cup Bailey's
2 1/2 to 3 cups powdered sugar

Put butter and cream cheese into mixer and beat until light and fluffy.  Add Bailey's and combine.  Add powdered sugar 1/2 cup at a time while beating on high until you reach frosting consistency.  For mine today, I should have added a little more powdered sugar, as my frosting needed to be a little more stiff for better piping.  Pipe onto cakes on top of the Guinness Chocolate Frosting. 

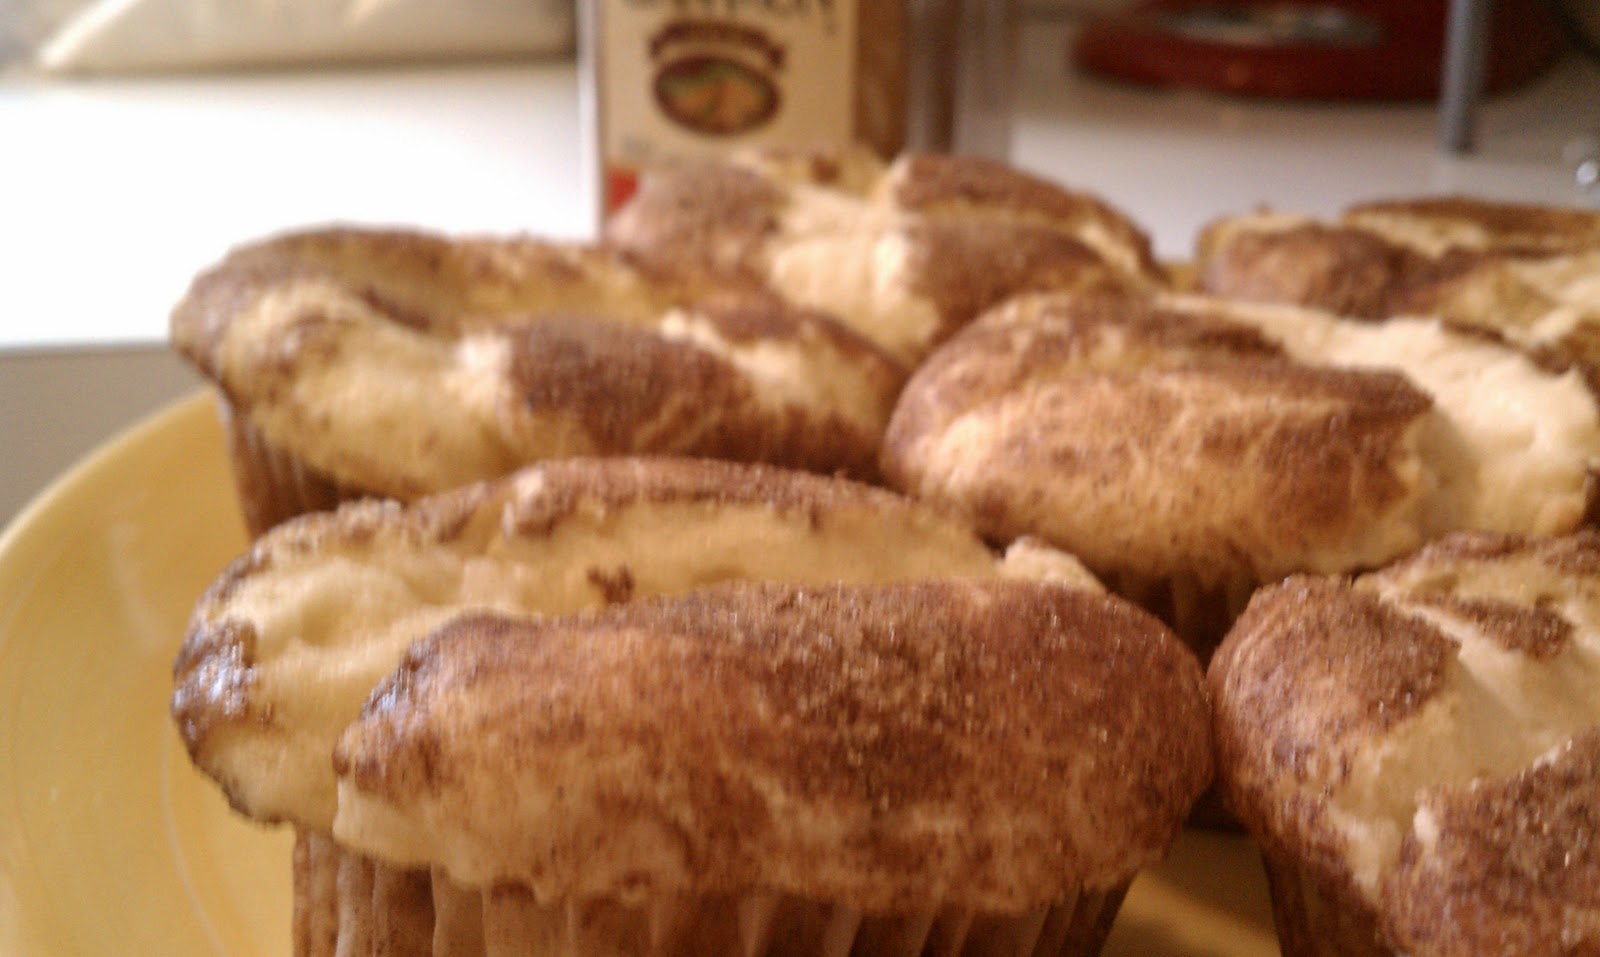
I couldn't help myself but to make another cake.  I made a Pistachio Bundt Cake.  The original recipe for this was given to me by my cousin, Bree, and it called for a yellow cake mix.  I didn't have a cake mix handy today without going to the dread store, so I did my best at coming up with a from-scratch recipe for it.  It you prefer to try it using the cake mix recipe (which is very easy and very, very delicious), you can find it here:  Pistachio Pound Cake

For this from scratch recipe, here's the ingredient list:

2 1/2 cups flour
2 1/2 tsp baking powder
1/2 tsp salt
1 3/4 cup sugar
2 pkg (3.4 oz each) instant pistachio pudding
1 cup sour cream
1/2 cup oil
4 eggs
1/2 cup brown sugar
1/2 cup chopped pecans
1 tsp cinnamon
powdered sugar for dusting

In large mixing bowl, combine flour, baking powder, salt, sugar and instant pudding.  Add sour cream, oil, and eggs.  Combine well.  Batter will be very, very thick.  Because it is so thick, I mix it by hand instead of using my mixer. 


Spray a bundt pan generously with non-stick spray.  Spoon about half of the batter into the pan.  In a small bowl, combine the brown sugar, pecans and cinnamon.  Spoon the cinnamon mixture on top of the batter, then cover the cinnamon layer with the remainder of the cake batter and spread out so that the cinnamon layer is completely covered.


Bake in 350 degree oven for 55 minutes or until wooden pick inserted into cake comes out clean.  Let cool in pan for about 10 - 15 minutes and then invert onto platter and let cool completely. 


Dust with powdered sugar to make it pretty! 


As I finish up this entry, Tommy's still on the couch, Pepper is still laying across his legs, and Tommy has moved on to watching one of the several renditions of the Fast and Furious movies.  Yes, it is hours later, and he has been up a time or two to get another beer.  Tommy has declared that he now knows exactly how he wants to redo the  garage to create his man cave.  Could be interesting. 

Poor ol' Bender has been bored out of his mind today.  When I bake, he insists on going outside until I'm done.  It was a nice day for it, and I tried to entice him to play fetch for a bit, but he didn't want to for whatever reason.     

Until next time, peeps!

Enjoy!


Thursday, January 26, 2012

Doughty-Dough-Dough-Dough! YES!

It worked!  After my horrid failure the other day in creating "yeast biscuits" instead of decadent dinner rolls, I spoke to people.  I talked to a friend at work who wondered if I killed the yeast with liquids that were too hot.  At the time I declined that suggestion, feeling like the yeast had bubbled up enough, but now that I've done it right, I believe she was correct.  I also did what any good baker might would do:  I called my momma.

Mom agreed that I probably got my liquids way too hot for the yeasties to survive.  She explained what the yeast should look like, and it is safe to say that the yeast I had didn't look like her description.  I thought it was foamy enough at the time - but now that I know what it's supposed to look like, I realize it was not even close.  Mom also agreed that the lack of kneading the dough probably didn't help things either. 

So, here I am with a new recipe thanks to Mom and some new pictures and a new story.  A happier, lighter, more delicious story.  I made both cloverleaf rolls and some pan rolls.  Here, see what I mean:


So, first, the recipe ingredients:

2 pkg yeast
1/4 cup warm water
2 1/2 cups scalded milk
2 Tbsp sugar
1 tsp salt
1 Tbsp shortening
5 3/4 to 6 1/2 cups flour

First, step is to "soften" the yeast in the warm water.  The recipe says 110 degrees water should be used to do this, however, I do not have a thermometer.  My tap water, when I just turn 100% hot water on, gets just hot enough that it is uncomfortable to keep you hand in for too long, but it doesn't burn.  My husband takes showers without hardly any of the cold water on - so it's really not too, super duper hot.  And that's what I used.  Hot tap water.  And it worked perfectly.

So, to be clear, combine the yeast with the 1/4 cup of warm water.  I let it sit for about 10 minutes while I was doing other things.  And what it should look like is brown tiny bubbled foam, very light and airy. 

The "other things" I was doing while the yeast was "softening" was scalding the milk and cooling it.  To scald milk, put it in a sauce pan on medium-high heat and bring it to just under a boil, to the point when the little bubbles start to form around the edges where the milk is touching the pan and the milk is steaming hot.  Once it reaches that point, remove it from the heat and combine it, in a large bowl, with the sugar, salt and shortening. 

Let the milk mixture cool to lukewarm and then add 2 cups of the flour, combining well.  Add the yeast and mix.  Continue to add flour, enough to make the dough a bit stiff.  I added the flour a cup at a time and ended up adding a total of right at 6 cups. 

Turn dough out onto a slightly floured surface and knead for about 8 minutes or so.  Mom says she doesn't do it for that long, and the recipe calls for you to do it for 2 - 10 minutes, so I did it for about 8 and it turned out fine.  You should knead it until the dough is smooth and somewhat satiny.  Shape the dough into a ball and place into a large lightly oiled bowl.  Roll the dough into the oil so that there is a light covering over it.  If you have it, cover the bowl with plastic wrap.  Place in a warm place and let dough rise for about 45 minutes to an hour. 

This time, I "created" the warm place by turning the oven light on - the oven itself is OFF - only turn on the light, and place the bowl in the closed oven for the rising time.  The dough should double in size.  Here is a picture of a successfully risen dough.


I "punched it down" by poking it with a few fingers.  It deflated beautifully! 

Take the dough and shape it into your favorite rolls. 

For instance, I greased muffin tins and placed 3 small balls of the dough in each muffin cup to make cloverleaf rolls. Here they are pre-rise:

I also made some larger dough balls and put them into a greased pan (this picture may look a little familiar...):

You can also make cinnamon rolls with this dough, but I didn't do that this time.  That's for a later date! 

Let the dough rise again to the point that it doubles in size once more.  (This picture does NOT look familiar!  ha ha)


Brush tops with butter and bake at 350 degrees for 20-35 minutes or until tops are just browned. 

We ate them piping hot with butter and jam.  Yum, yum!  I am so much happier with this turn out than the last one!

Thanks for sticking with me on this!  I'll continue to try other yeast recipes, but for now, I'm very happy with how this one turned out!

And, while I'm in a celebratory state (and, Dad, that's celebratory, not celebrity), I want to extend late happy birthday wishes to a dear friend who I won't name because she's kinda shy about such things.  But she knows who she is.   Happy Birthday, Dear Friend.

I also want to acknowledge that tomorrow is the birthday of someone else very special to me.  If he were here, Tom would be celebrating his birthday tomorrow.  A day doesn't go by that I don't think about and miss him, and I know that would mean a lot to him just to know that.  Happy Birthday, Tom. 

And, lastly, but not leastly, a really big reason to celebrate: 
Happy Retirement, G.T.!   
I am so happy that you are now officially retired, Padre.  I hope you enjoy waking up each morning and having it always feel like a Saturday.  I hope you take lots of mid-day naps.  I hope you get a lot of mileage out of your camper.  I hope it's everything you want and need it to be.  You've worked so hard for a long time and you deserve your off time.  Just don't do anything to make your little trooper angry or you might get a bip in the schnoz. 

That's it for me tonight.  I had a great, productive day of work and a satisfying evening of baking.  I am now going to brush the naughty dog while I watch tonight's episode of American Idol. 

Enjoy!


Sunday, January 22, 2012

Duh'oh Dough!

What a crazy week!  I am so glad for the weekend, but already feel like it's come and gone way too quickly.  Tommy's family came up to visit for my Father-in-Law's birthday.  It's becoming a quick tradition that we celebrate by taking him out to dinner each year to his favorite place, The Rheinlander, where they have phenomenal bier, scrumptious fondue served with breads and bier sausages, and good German foods.  The atmosphere is great with staff that play accordions and sing songs as they walk through the restaurant.  And much to my delight, they do offer a few of their recipes on the website that I'm certainly going to have to try!  We had a great time, as always.  Happy Birthday, Dave!! 

Another birthday dinner celebration occurred this weekend that I wasn't able to attend, although I know it was a fun one for a friend of mine, and so I also feel compelled to say Happy Birthday R.D.!

Today, while watching football and trying to get a little down time in before the start of a new work week, I'm giving my very best effort with making homemade dinner rolls.  My Grandma Coleman has traditionally made these at family get-togethers and the rolls are just amazing with golden crunchy tops and light, fluffy, delicate insides that just melt in your mouth.  That's how she makes them.  Now, how I make them has yet to be seen at the point that I'm writing this, but I have high hopes.  I'm following my recipe very carefully, as I do tend to have a fear of failure when it comes to the use of yeast baking. 

So, working backwards, here's what I ended up with:


Yes, there is one missing.  :)  And, yes, they taste exactly what they look like:  Biscuits.
The recipe is one that came from allrecipes.com.  The original recipe used a bread machine, so if you have a bread machine and want to follow that recipe, here is the link to that one:  Allrecipes Sweet Dinner Rolls using a bread machine.  I followed the recipe using my mixer.  Here's what I did.

First, I heated 1 cup of 2% milk in the microwave for about 1 1/2 minutes.  The original recipe calls for 1/2 cup warm water and 1/2 cup of milk, but I only had 2% milk, so I just used it to make the whole cup without adding water.  (Okay, so here I go messing with the recipe that I'm supposedly following extremely carefully, right?) 

I then put in my mixer bowl and combined it with a wooden spoon with 1/3 cup of sugar until the sugar dissolved.  I then added 1 packet of quick rise yeast and stirred that into the mix and then let it sit undisturbed for about 15 minutes.  It gets a little foamy and gelatinous.  This is what it looked like:


I then added 1 tsp salt, 1 egg and 1/3 cup of softened butter to the yeast mixture, stirring again with a wooden spoon.  (Honestly, I don't know if the wooden spoon business matters or not, I'm just telling you what I did in case it does.)

I attached the dough hook to my mixer and added 3 and 3/4 cup of all purpose flour to the mix, 1/4 of a cup at a time.  Once the dough was well combined, I formed it into a ball in the bowl like so

and then covered it with a kitchen towel and left it in a warm location to rise for about an hour to and hour and a half. As a side note, to create this warm location, I heated the oven and then placed the covered bowl on the stove top, which gets slightly warm when the oven is on, and then turned the oven off.

After letting the dough rise to about double of what it started as, I "punched it down" and then cut the dough into 12 pieces that I formed into very rustic balls and placed inside a 9x13 greased baking dish. 
I covered the dish and then put it back in the warm location to rise again for about another hour. 

Now, according to the original recipe, you can do a lot of things with this dough.  For instance, instead of forming into balls for rolls, you can opt to roll it out on a lightly floured surface into a circle and cut into wedges to roll up and make crescent rolls; you can roll out, cover with butter, cinnamon-sugar, nuts, and raisins, roll up and cut into cinnamon rolls; you can cut and form into smaller balls, drop 3 balls into greased muffin tins and make clover rolls.  There are lots of options, so don't limit yourself! 

Anyway, once they had risen, I melted some butter and brushed it across their tops so that they had a beautiful buttery sheen to them.  ~Lick~

 
Although they did rise, they didn't rise as big as I had expected, just to add to my slight nervousness!  Eek! 

I preheated the oven to 350 degrees and in they went.  I wish I could take a picture of how the house smells while they are baking - it is such a relaxing smell.  *sigh*  

After pulling them from the oven, I am realizing that what I have are a dozen yeast biscuits.  Can you say "disappointing?"  They taste perfectly fine, but they're more like biscuits instead of light and fluffy dinner rolls.  So, while you are welcome to try this recipe, I promise to keep researching, trying and sharing until I finally get one that works like a charm and has the outcome I was hoping for. 

So I suppose it is safe to say that not all kitchen attempts are a complete success, but I wouldn't call this one a total failure since we're eating them without complaint!  We are enjoying them, actually, butter and some of the delicious jam we brought home with us from The Rheinlander.  Not even remotely close to my MaMa's lovely and delicious dinner rolls, but still (thankfully) turned out yummy! 

Have a good rest of the weekend and a happy week!

P.S. added Tuesday, January 24, 2012:  After posting and reading my blog above, it occurred to me that I omitted a very, very, very critical step.  Before putting the dough in the bowl to rise, I should have kneaded the dough for 8-10 minutes.  Super big duh'oh!  Ends up that I named this blog appropriately!  While the dough did rise, it was not even close to the extent that it should have been.  I noted at one point that I let it rise to "about" double the size, but now that I've viewed some youtube videos, I realize that the dough did *not* rise like it should have (yes, I really and truly am a rookie at this) and apparently I need to get my eyes checked if I thought it had risen to "almost double" now that I know what that really looks like. 

So, I'll be trying this exact same recipe again, but I'll be injecting the kneading process into it properly next time!       

Sunday, January 8, 2012

Sushi, Anyone?

This will be a short post, but one that I wanted to put in place today while it's all still fresh in my mind.  A few months ago, Tommy and I took a sushi class at a place in downtown Portland called In Good Taste and we absolutely loved it!  Click on the link and check it out - they offer several different types of cooking classes that I think would be great to do!

Anyway, finally, Tommy and I decided to make sushi at home.  I have to say that I cannot imagine doing this without having taken the class.  Here's what we finished with, just as a teaser of where we're going with this discussion:


This adventure started with us having to go shopping, of course,  because it is absolutely critical that sushi is made with fresh, high quality fish and ingredients.  We went to the Asian food market, Uwajimaya. 


It is amazing.  It's huge, and there are so many interesting, unique things there.  Seriously, I could have just walked up and down all the aisles and spent a ton of time (and money) at this place!  They had what I would call a very fresh fish market.  Really, can it get any fresher?


We bought shashimi grade white tuna, ahi, and salmon.  We bought too much - a little goes a long way, but we learned and know for the next time. 

We got home and carefully made the rice using the shari-zu mixture/method, made some homemade Japanese Spicy Mayo for a spicy tuna  mixture, and cut and sliced and diced all sorts of things.  Unfortunately, we forgot a lot of the techniques we learned in the class, so our rolls weren't as tightly done as they should have been and the inside-out rolls had too much rice on them.  BUT they tasted really good - Tommy could not have been happier!  They didn't look quite as elegant as what we made at the class, but we figure next time, we'll refresh our memories by watching a few YouTube videos before diving in for another round. 

A great afternoon spent in the kitchen with my hubby! 

Saturday, January 7, 2012

Snickerdoodle Muffins and Some Pure Geniosity

Well, I'm thinking I may make a batch or two of muffins this weekend.  I'm leaning towards some recipes that I've done and had good success with.  First, I'll share one that sounds good right this minute, but I think I'll have to wait until tomorrow morning to make them:  Snickerdoodle Muffins. 

Aren't they just drool-worthy?  I think so.  The recipe is a borrowed one from this site, Tasty Kitchen, and you can click on the link to go to the recipe.  You'll find that the recipe calls for buttermilk, but I never buy it because we won't drink it.  I "make my own" by putting 1 tablespoon of lemon juice into 1 cup of milk, (or 1 1/2 teaspoons of lemon juice for 1/2 cup milk) stirring it and letting it set for a few minutes and then using whatever measurement is needed for the recipe.  Never had a problem with doing this.

So, after making the batter, I used a large scoop and rolled the batter balls into cinnamon sugar and then put the batter into a lined muffin tin. 


Another favorite muffin here at the Bentz household is the traditional blueberry muffin.  I have a jumbo muffin tin, so I made some jumbo muffins a while back.  The recipe can be found here:  Jumbo Blueberry Muffins

And here is a tease picture of them.  I think they're beautiful!


If you've never had a reason to keep butter on hand, you have two good reasons now!! 

Ok... so here's my funny Tommy story.  He'll love that I put this on here (not!), but it is one of my favorites.  Tommy and I go out to eat occasionally at this Mexican restaurant and for leftovers, they use styrofoam containers.  Tommy and I usually use the pen they bring with the check to write our names on our containers.  Well, Tommy was feeling exceptionally brilliant this particular evening, and this is what he wrote on his:


So, just looking at this picture sends me into a whole new fit of laughing.  Yes, he is, indeed, Pure Genious, much in the same way of Wile E. Coyote.  And it seems needless to say how awesome it would be if he was just simply genius.  Or for that matter, if I was, too! 

On that silly note, I'll sign off for now. 

Enjoy!


Sunday, January 1, 2012

Chocolate Dobash Cake and Vanilla Bean Craziness

Well, tomorrow, unlike many, I go back to work!  And I am excited and happy for it because I am ready for some feel of normalcy after the last several weeks of hecticness. 

We got a kinect the other day, and have been dancing until we are near the point of collapse.  For anyone who likes to dance, it is so much fun!!  It is a bit misleading to sit and watch because it looks so much easier than what it really is, and it is surprising how quickly your heart rate escalates!  Whew!  We also have been enjoying the Fruit Ninja game.  Tommy feels pretty fierce when he proclaims his Fruit Ninja Status; and I must say, it *is* impressive!  '

We spent our New Year's Eve watching movies.  We watched "Rise of the Planet of the Apes" and then, afterward, flipped over to watch "Jaws" on TV.  Jaws is just one of those movies you shouldn't watch before going into a body of water.  Great classic movie, though!  To quote Robert Shaw, "Here's to swimming with bowlegged women!"  Ok... that really has nothing to do with my baking today, so let's get started!

I'm going to begin with the prettiest picture and will explain more down below, but this is the final product of my Vanilla Bean Bundt cake with Vanilla Bean Glaze:


I was asked to do a cake of my choice for the January birthdays at my work, and because one of the January birthday folks is a good friend of mine, I decided to make his favorite cake, a Chocolate Dobash cake.  Oh, what a mess I ended up with.  Things seemed to be chugging along just fine, and then, the horrific moment of my cake sinking occurred while they were seemingly peacefully cooling.  I now wish I had taken a picture of it to share, but in my discouragement, I went into recovery mode and didn't think about picking up my camera. 

Even my homemade frosting turned out a little on the lumpy side. 

Hmphf!

So, the recipe starts with whipping egg whites and a little sugar that you fold into the chocolate cake batter.  It's really pretty, actually.


Dobash is a Hawaiian cake that is supposed to be light, but full of moist flavor.  The frosting is a creamy chocolate that has a pudding like texture that sets up nicely. 

Ideally, you make two 8" round cakes, and cut each of them in half so that you have a 4-layer cake with frosting in between each layer as well as on top and along the sides of the cake.  Since my cakes fell, not only am I stuck with just two layers, but I'm stuck with two flat, somewhat dense layers.  Not at all like it was intended. 

Here is the final product.  I am so frustratedly disappointed - and will definitely have to try this recipe again so that I will feel comfortable sharing it, assuming I'll have success. 


Just looking at it again in this picture makes me grumble.

Moving on...

Considering the major failure with the dobash, I decided I should make something else to take to the office tomorrow as well.  I recently purchased some vanilla bean paste that I have been dying to try out, so I'm making a Vanilla Bean Bundt Cake with Vanilla Bean Glaze.  The original recipe comes from Sweetapolita.com and if you look at her results, you'll see that her frosting is more of a pure white because she used vanilla bean instead of the paste.  Finding real vanilla beans is a challenge, so this is my first effort at using the paste.  Here's what it looks like, for those that are interested:


While the cake was baking, I put some paste into a few tablespoons of milk and put it in the fridge to let it all infuse - it will be used to make the vanilla glaze.


The cake turned out beautifully!  Here is the pre-glazed snapshot.  So much prettier than that ridiculous dobash! And you've already seen the glazed finale!  Thank goodness it turned out so I don't have to come up with yet another thing to make. 


While I've been doing all this baking and picture taking, Mr. Bender has taken to stealing things and disassembling them in the back yard (as opposed to his usual location of under the bed).  He keeps me so busy sometimes.  Here you can see all his back yard treasures, which include to the far left, a page of a recipe that I had written on a piece of paper, a pot holder, a demolished flip flop and a piece of a toy he got for Christmas, along with his newest baby under his paw, and in the foreground, an entire stack of light green sticky notes that are now in a kazillion pieces.  I took this picture about 10 minutes ago.  Bender froze to look at me to see if I was going to try to take any of his things back into the house. 


Over and out for now.  I have messes to clean up, some my own, some not.  I will give the dobash another try soon, and when I do, I'll share the recipe I use.  I refuse to let it beat me! 

I hope you have had and continue to have a very Happy and Safe New Year's!

Enjoy!